I never wrote a post about how we ended up re-doing the floors that I talked about here and here. Back in June, we finally tore up the carpets, removed the tile, and had the floors refinished. It was an ordeal but the floors look amazing now! First, here's a picture of my cat cuddling the laptop next to the pile of books that, for SIX MONTHS replaced my bookshelf after it broke in a great New Years Eve crash.
Here's Ed's leg, while we prepped the room for carpet removal. You can see the extremely horrible stained carpet here and in the following photos. This is all in the spare room, or as I like to call it "Amy's room." The long narrow closet is my closet now, and I keep all my books and clothes and other stuff in here. Pierre the cat was a good model for the "before" pictures.
 |
 |
 |
 |
Underneath the carpet, I was so afraid it would be rotted and mildewy and damp but it wasn't! Under the carpet in the spare room was this awkward not-quite-checkerboard pattern of black and white square streaky vinyl tile. YAY. Seriously, what do we call this? Staggered stripes? Lightening bolt zig-zag stripes? It's awful. It was also splattered with paint. Presumably whoever put down the carpet painted first and didn't bother to protect the floor.
 |
 |
In these photos you can see the furring strips around the edges of the room. These were nailed into the tile and had spikes coming up that the carpet pressed into. I removed them with a hammer and sometimes a screwdriver as chisel. This photo on the right gives an idea how the closet is situated. Annoyingly, the tile covered the whole closet as well. It's about 2.5 ft by 7 ft. We also taped all the wires and stuff up, as the router is in this room and we can't live without internet, obviously.
We can, however, live without any other functioning rooms. This is our kitchen, piled with everything in the spare room. The living room was piled with everything in the bedroom, and there are no other rooms. All my books are under the table. All my clothes are on it. We tried to have a plan so that this would get back to normal as fast as possible but it ended up being I think 3 weeks, mostly because floor contractors won't agree to give you a quote until they see the floor without the tile, and then they can't come out immediately. It's also because I picked the slowest possible floor finish, involving 3 days of application and 7 days of waiting for it to fully dry. IT WAS WORTH IT THOUGH. |
 |
As I may have mentioned, the tile turned out to have a small percentage of asbestos, I think around 10%. Anything over like 3% needs to be treated as hazardous. Fortunately the adhesive didn't, because there was a ton of it left on the floor and it ended up getting sanded. The main risk for asbestos is when it becomes airborne. This tile was "non-friable" meaning the asbestos were baked into the solid tile, so unless they were pulverized then the asbestos remained stable and relatively safe. I also read that asbestos are used in brake pads so spending your life out on city streets gives you similar exposure to asbestos. Regardless, we took the proper precautions. We taped the walls with plastic to contain any dust that might have been created (even though there wasn't any). We wore protective gear including a Very Sexy special mask that filters out any tiny particles. And we wetted the tile before prying them up carefully, minimizing breaks, in order to keep any small particles from becoming airborne. Actually, I say "we" but Ed did most of this while I was at work since he was on sabbatical. We double-bagged all the tile and all the plastic and put them on the porch, where they live to this day. I finally found a dump in the suburbs that will take them but we are too lazy to bring them out there. It cost hundreds of dollars for disposal, but if you get in the pros, they'll basically do what we did but charge you thousands.
 |
 |
 |
 |
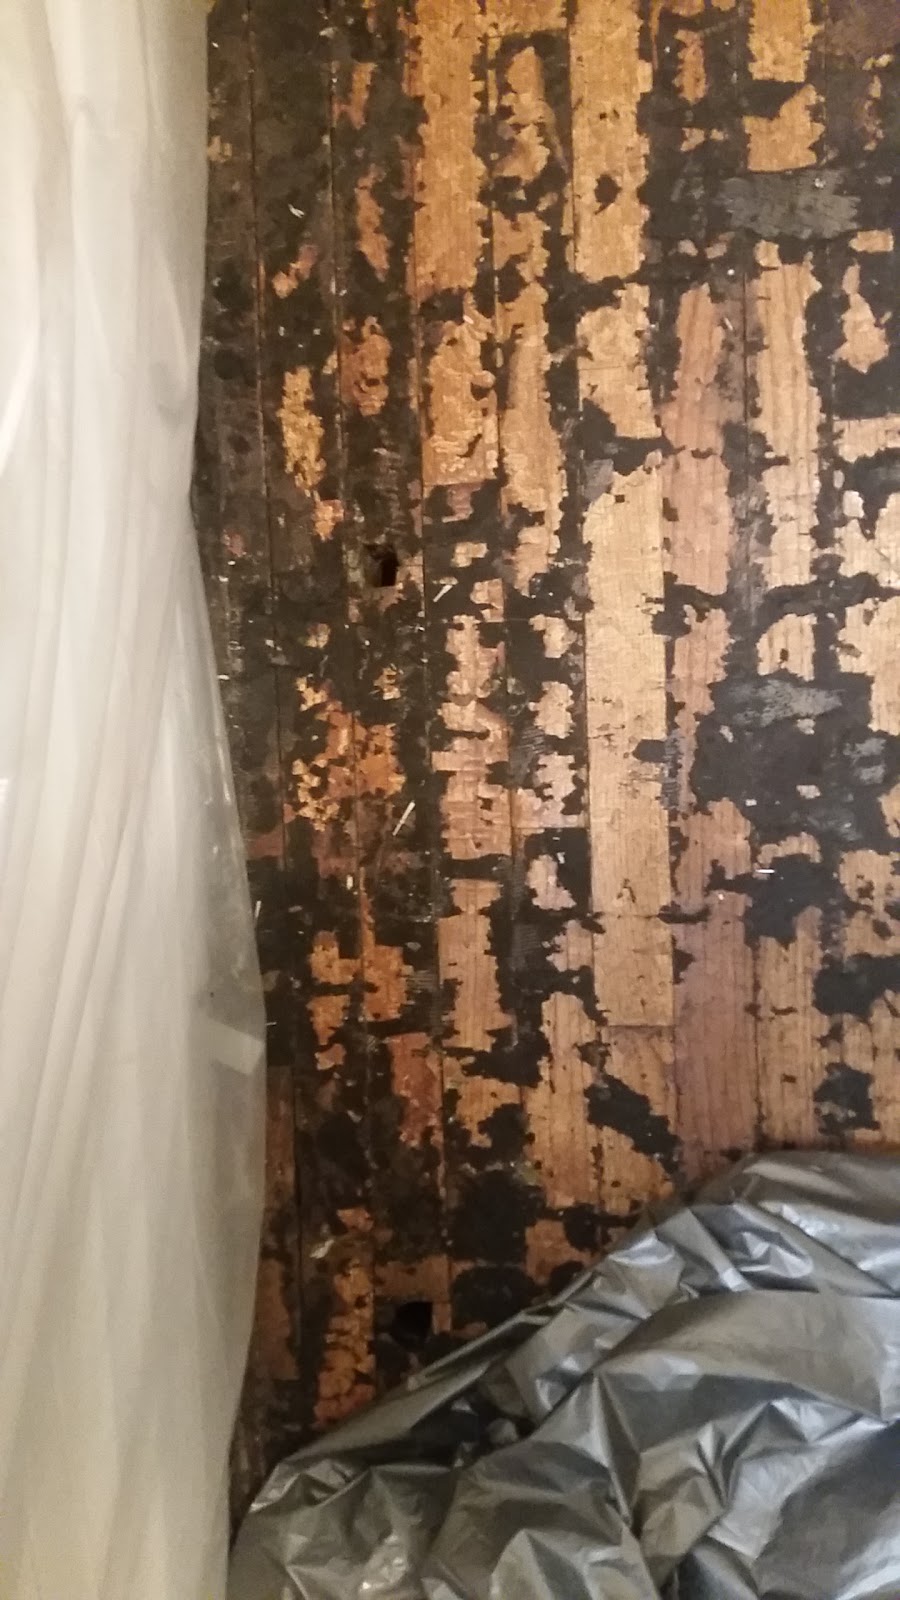
At last, the original floor! That black adhesive was hard to get off, I went at a small section with soapy water and it scraped off, but the electric sander that the floor guys brought in made quick work of the rest of it. The floor ended up being narrow planks without too bad of gaps except around one side. There were some holes from former radiators. The floor guys filled a couple of them or just replaced the whole plank. As seen below there were a couple areas that looked a bit dicey but they actually cleaned up really nicely. As the tile was coming up we were worried about if we'd ever get the black adhesive up and if the floors would be in good shape. Come back soon to see how they turned out!


No comments:
Post a Comment